First off, lets do a simple set up. Open a new document with a white background. For the sake of simplicity let’s keep this document in Grayscale mode. (Though you can always use any other color mode).
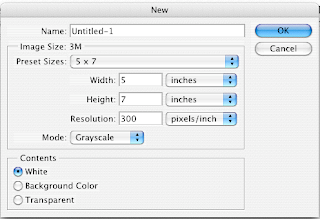
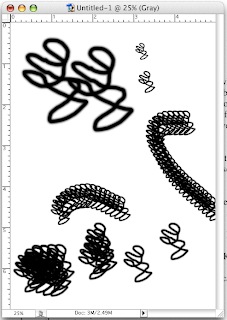
Take a small brush and do a simple doodle with it. Doesn’t have to be anything spectacular. Next, use the Rectangular Marquee tool to select the drawn image.
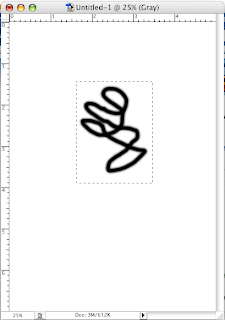
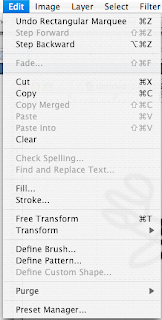
With the doodle selected, select Define Brush from the Edit menu in your menu toolbar. When prompted, give your new brush a name. Click OK.

Now when you select your Brush tool, this new brush can be found in the Brush Menu bar. Select it.
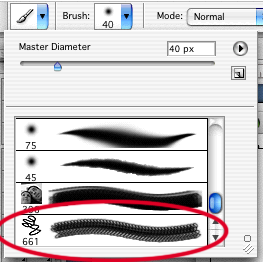
Now you can stamp and move this design all over your canvas. If you want you can even change the master size.
OK, so that’s a simple use. Now lets get a little more fancy.
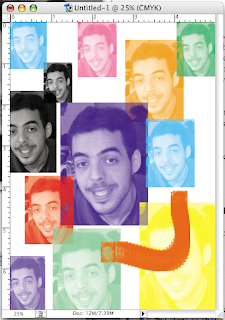
Open up a picture and convert it to Grayscale. Using the same steps as above, select an area and make it into a brush.

Now when you select this brush, it will look exactly like the area you selected… shading and all! Play around with the size and change up the colors. This is a fast and easy way to stamp out a design in Photoshop. No hassle with creating a new layer for each image.
So what is the professional use for this feature? Many pro Photoshopers will take pictures of different textures, drawings, and patterns. Then scan them in and make one-of-a-kind blending brushes and pattern stamps. These type brushes save on time and can give your artwork a natural look and feel. An excellent photoshop painter is Craig Mullins. Check out his website for some great inspiration.
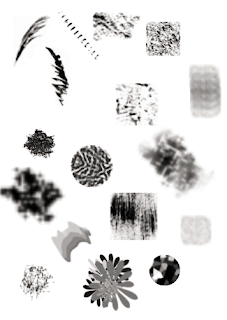
Some patterns I would recommend taking pictures of are: Clouds, Wood grains, Trees and bushes, liquid spills and drips, light reflections, holes, scrapes, and pencil drawings. Below are some examples from my archive.
That’s all for today. If you have any questions, please feel free to give me a shoutout.
--Ben

0 comments to Tutorial - How to create your own brushes in Photoshop