This process will show you how to color separate vector art using only Adobe Illustrator. It’s a quick and easy process that has always given me great results for screen printing. You can use this process for as many colors as you like. Just be sure to follow each step closely.
To begin, I want to note that this process will only work for artwork that has “flat colors.” There are no gradations, tints, or transparent colors. Perhaps in a later post I’ll show you how to do those using a process in Photoshop.
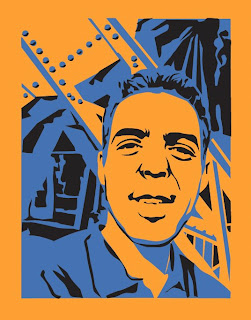
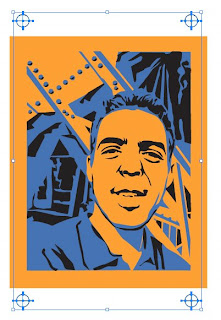
This will be our setup image. When I make a tshirt design, I always start with a background color that’s the same as I want my shirt to be. In this case it will be Orange. The image is a two-color print (Blue and Black). It’s very important to make a swatch of the colors you use; and only use those colors. I like to pick from the Pantone swatch palette; that way I can tell the printer exactly what color number to print.
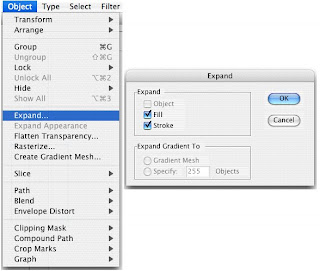
First, make sure all aspects of your image are unlocked and select your entire image. In your Menu bar select: Object – Expand… Check the Fill and Stroke boxes and hit OK. You have now turned all your stroke paths into fill paths. If you look in the color selector’s at the bottom of your tools palette, you should see a question mark for the fill and a null for stroke color.

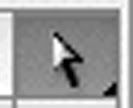
Deselect the image and pick up your Direct Selection tool (aka ‘The White Arrow”). With this tool, click on a single area of color. In my case I chose the Blue area.
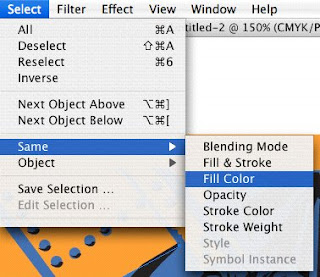
Next, in the Menu palette, go to Select – Same – Fill Color. This selects all the colors on your image that have the same fill color selected.
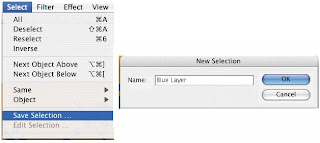
Now we can Save this selection. Go to Select – Save Selection… When prompted, give the selection a color name. In my case I’m calling it “Blue Layer” (original, I know). Repeat this step for each color of the design – including the shirt color!
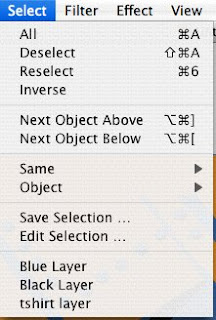
When you’re done, you can see each saved selection under the Select menu.
Next, with your circle and line tool, make some simple alignment marks at the corner of your image. They don’t have to be too big. When done, Group each of them together.
Next select your image and make all colors White.
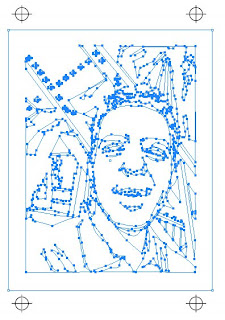
Return to the Selection Menu and select each color one at a time. Turn that color Black. I usually copy and paste each color separation into a different Layer. Remember to return your image back to white before starting a new color selection!
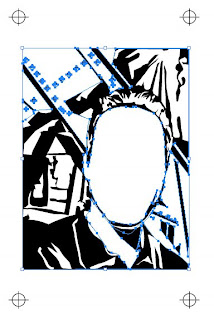
Now you’re done! As long as you keep the alignment marks in the same position, you can move the image around and print them at will.
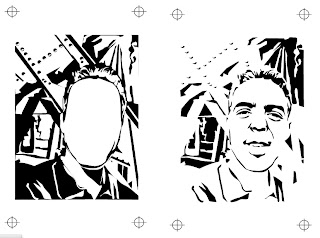
I hope you’ve enjoyed this. If you have any questions, please feel free to leave comments or drop me a line.
Be good,
--Ben

Unknown nice